


Adding Repair Orders to the Schedule
You can add an existing Repair Order (R/O) from the Work tab or create an R/O from the Schedule tab.
Schedule an existing R/O:
- On the Work tab, select Assign R/O.
- Note: If the document is in Estimate status, it will be converted to an R/O when Assign R/O is selected.

- Note: If the document is in Estimate status, it will be converted to an R/O when Assign R/O is selected.
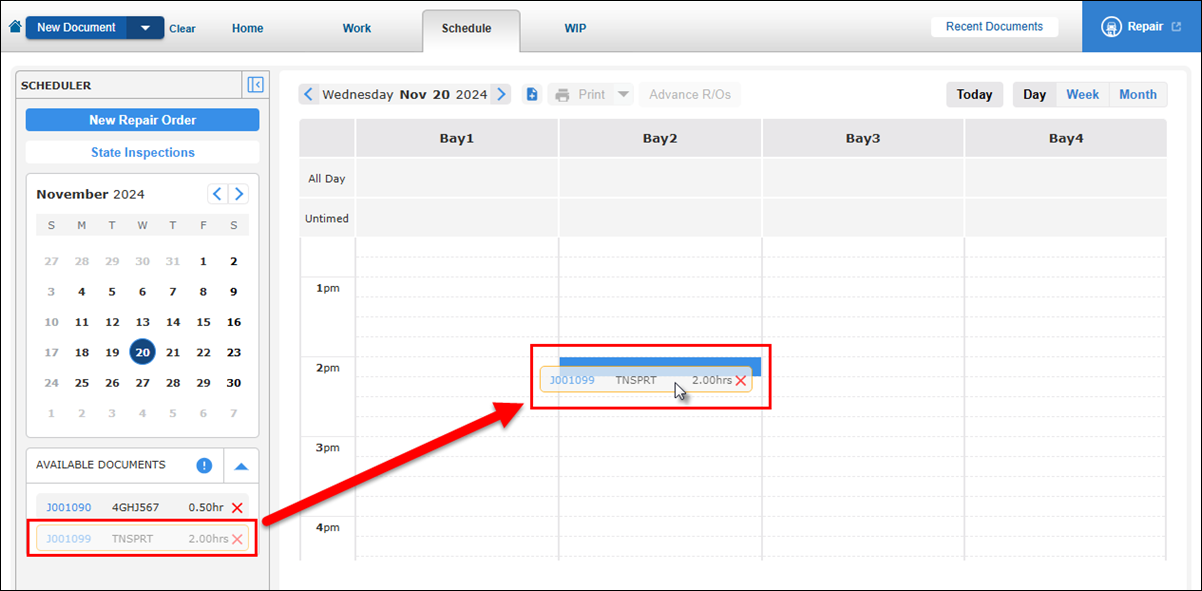
On the Schedule tab, locate the R/O in the AVAILABLE DOCUMENTS list.
- Tip: Click a document to view the Quick Job Overview

- Click and drag the R/O to the preferred location on the Schedule.
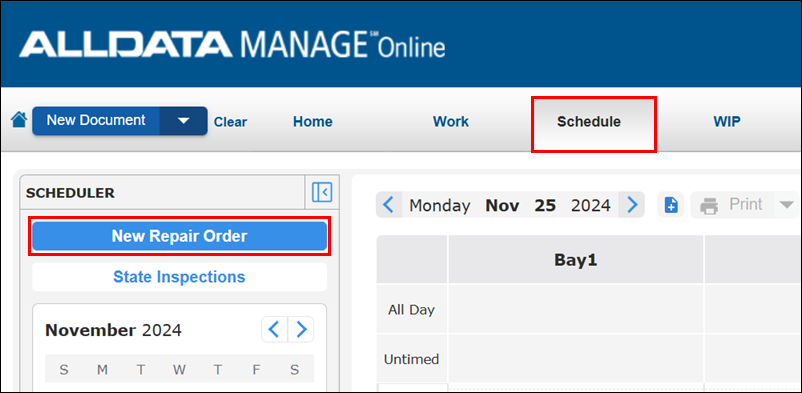
Schedule a new R/O:
- On the Schedule tab, double-click the time slot you want to place your R/O or select New R/O at the top of the schedule.
- Fill in the information on the New Repair Order R/O screen >> select Save.
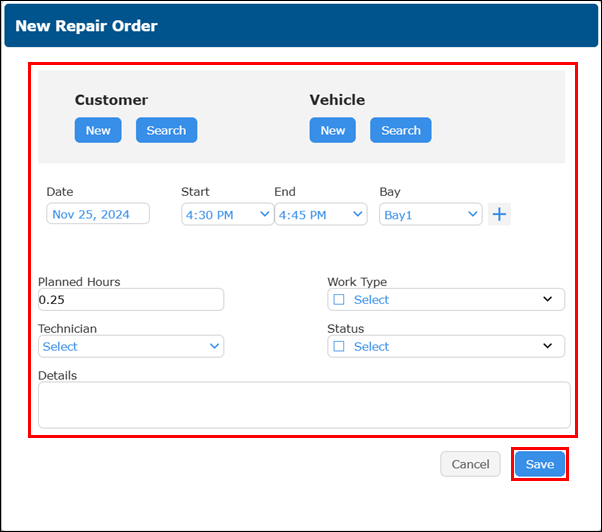
This process will create a blank repair order with no associated parts and labor information.
- It is recommended to add parts, labor and any additional details to complete the R/O.
Add details and make changes to a scheduled R/O:
- Double-click on the top line of the scheduled R/O or single-click the scheduled R/O then click Edit .
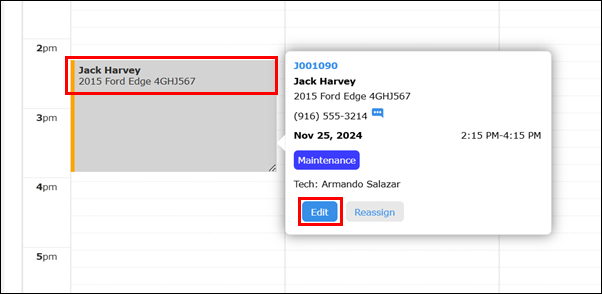
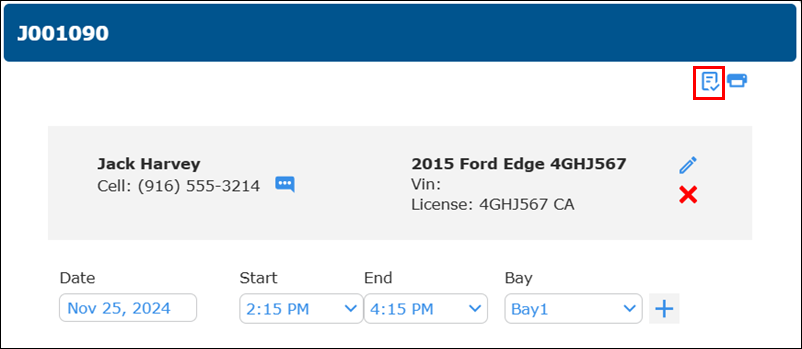
- Click the go to document icon.
- Complete the R/O by adding any necessary details.
- Click Update R/O.
